 Skip to content
Installing hardwood floors in Colorado demands more than basic carpentry skills. The state’s dramatic humidity swings, high altitude conditions, and strict building codes create unique challenges that can turn a beautiful floor into a warped nightmare within months. This comprehensive checklist ensures your investment delivers lasting beauty and durability by addressing Colorado-specific installation requirements from subfloor prep through final finishing.
Table of Contents
- Essential Criteria For Wood Flooring Installation In Colorado
- Pre-installation Checklist: Preparing Your Space For Success
- Step-by-step Wood Flooring Installation Checklist
- Comparing Installation Methods: Choosing The Best Fit For Your Project
- Making The Right Decision And Next Steps After Installation
- Professional Hardwood Floor Installation And Refinishing In Colorado
- Frequently Asked Questions
Key takeaways
| Point | Details |
|---|---|
| Moisture testing prevents damage | Testing subfloor moisture content before installation stops future warping and buckling in Colorado’s dry climate. |
| Certified installers reduce risks | Hiring experienced installers familiar with Colorado codes and altitude conditions minimizes costly installation failures. |
| Acclimation is critical | Wood must adjust indoors 48-72 hours minimum to match Colorado’s indoor humidity levels before installation begins. |
| Method selection impacts longevity | Choosing nail-down, glue-down, or floating installation depends on subfloor type, building use, and local climate factors. |
| Post-installation care extends life | Regular maintenance and humidity control protect your floors from Colorado’s extreme seasonal moisture variations. |
Essential criteria for wood flooring installation in Colorado
Colorado’s unique environment demands careful installer selection and material preparation. The state’s low humidity, temperature extremes, and elevation create conditions that challenge standard flooring practices used in coastal or humid regions.
Start by choosing installers certified and experienced with Colorado’s specific climate demands. Local building codes vary significantly between Denver, Boulder, and Colorado Springs, requiring installers who understand regional permit requirements and inspection standards. These professionals recognize how altitude affects adhesive curing times and how dry winter air impacts wood moisture content.
Subfloor moisture testing ranks as your most critical preparation step. Even new construction can harbor moisture issues that lead to catastrophic flooring failure. Professional installers use calibrated meters to verify moisture levels fall within acceptable ranges before laying a single plank. This single step prevents the common hardwood floor risks in Colorado that cost thousands in repairs.
Wood species selection directly impacts long-term performance. Colorado’s indoor humidity can drop below 20% in winter and climb above 50% in summer. Choose dimensionally stable species like oak, maple, or engineered products designed to handle these swings. Avoid exotic woods prone to movement unless you maintain strict humidity control year-round.
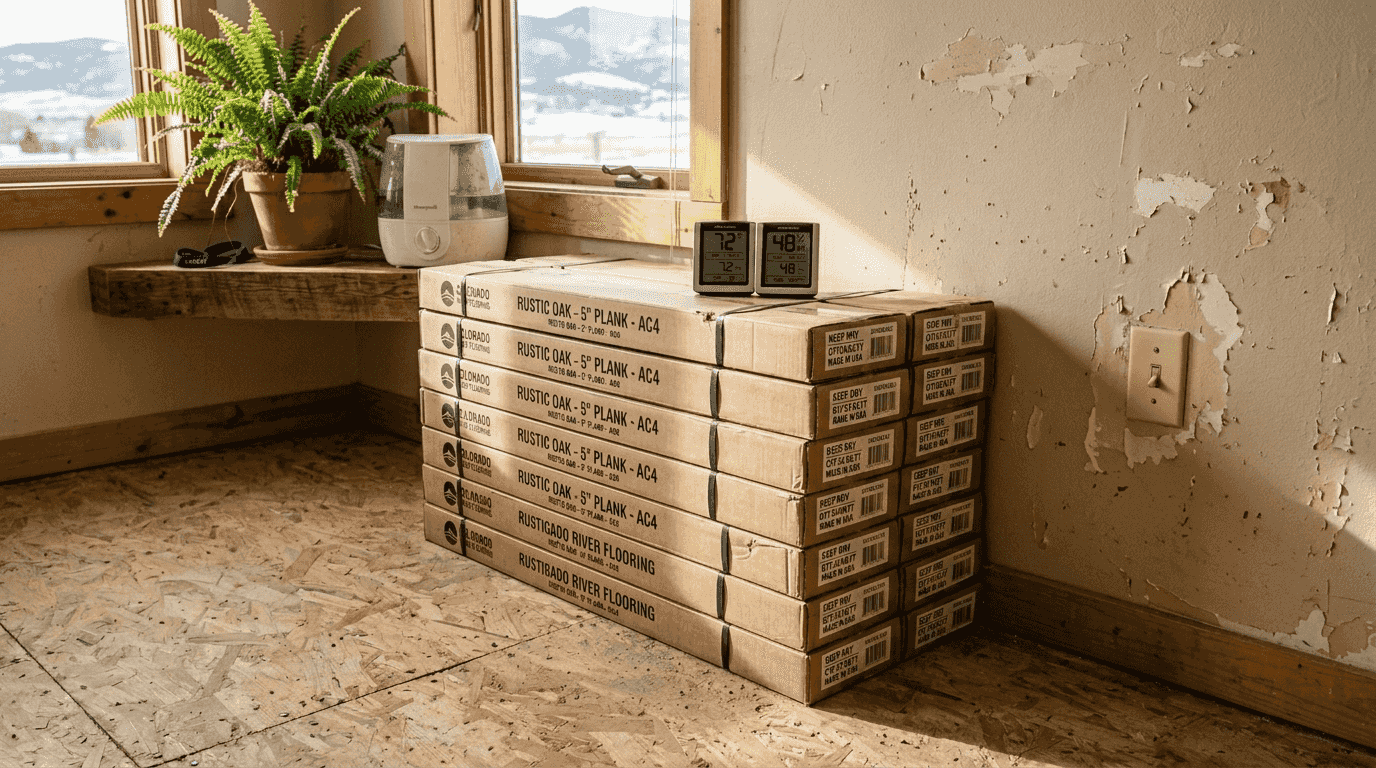
Proper acclimation eliminates expansion and contraction problems after installation. Deliver flooring materials to the installation site at least 72 hours early. Store boxes in the actual rooms where installation occurs, not in garages or basements where conditions differ. This allows wood to reach equilibrium with your home’s moisture levels.
Building permit compliance protects your investment and resale value. Many Colorado municipalities require permits for flooring installation, especially in commercial spaces or when modifying subfloors. Your installer should handle permit applications and schedule required inspections. Skipping this step can trigger expensive corrections during home sales or insurance claims.
Key selection criteria include:
- Installer certification from recognized flooring organizations
- Documented experience with Colorado altitude and climate conditions
- Current liability insurance and workers’ compensation coverage
- References from recent Colorado projects similar to yours
- Knowledge of local building codes and permit requirements
- Access to calibrated moisture testing equipment
Pro Tip: Request moisture readings for both your subfloor and the flooring materials before installation begins. Document these numbers with photos for warranty protection if problems develop later.
Understanding wood floor maintenance in Colorado helps you select materials and finishes that match your lifestyle and maintenance capacity.
Pre-installation checklist: preparing your space for success
Thorough preparation determines installation success more than any other factor. Rushing this phase creates problems that surface months or years later when corrections cost exponentially more.
Follow this numbered preparation sequence:
-
Test subfloor moisture content using a pin or pinless meter in multiple locations across each room. Moisture meters provide the only reliable way to verify safe installation conditions. Wood subfloors should measure below 12% moisture content, concrete below 3 pounds per 1,000 square feet using calcium chloride tests.
-
Inspect subfloor flatness with a 6-foot straightedge, marking high and low spots. Industry standards require flatness within 3/16 inch over 10 feet for nail-down installations, 1/8 inch for glue-down or floating floors. Sand down high spots and fill low areas with appropriate leveling compounds.
-
Remove all existing flooring materials, adhesive residue, and debris. Sweep and vacuum thoroughly, then check for squeaks by walking the entire subfloor. Secure loose boards with screws, never nails that can work loose over time.
-
Acclimate flooring materials in the installation space for minimum 48 hours, preferably 72 hours or longer. Open carton ends but leave planks stacked to allow air circulation on all sides. Run HVAC systems to maintain temperatures between 60-80°F and relative humidity between 35-55%.
-
Clear the installation area completely, removing furniture, wall hangings, and window treatments. Protect doorways and adjacent rooms with plastic sheeting. Ensure adequate lighting and electrical outlets for tools.
-
Measure and mark starter wall locations, accounting for expansion gaps around all perimeters. Calculate square footage precisely to minimize waste and verify you ordered sufficient materials plus 10% overage.
Colorado’s dry climate demands extra attention to humidity control during installation. Run humidifiers in winter months to prevent wood from drying below its acclimated state. Conversely, use dehumidifiers during wet spring months to avoid excess moisture absorption.
Pro Tip: Take before photos of your subfloor condition, moisture meter readings, and material acclimation setup. This documentation proves invaluable if warranty claims arise or installation disputes develop.
Inspect all flooring materials for damage before installation begins. Reject boxes with water stains, crushed corners, or visible plank defects. Mixing planks from different boxes during installation creates better color variation and hides minor shade differences.
Review pre-installation hardwood floor tips for additional Colorado-specific preparation guidance that prevents common mistakes.
Step-by-step wood flooring installation checklist
Methodical installation following manufacturer specifications and industry best practices ensures floors that perform beautifully for decades. Cutting corners or improvising techniques leads to squeaks, gaps, and premature failure.
Critical installation steps include:
-
Install appropriate underlayment or moisture barriers based on subfloor type. Concrete requires 6-mil polyethylene vapor barriers with sealed seams. Wood subfloors benefit from felt paper or foam underlayments that reduce noise and provide minor leveling.
-
Establish your starting wall using the longest, straightest wall in the room. Measure to verify opposite walls run parallel. If walls bow or angle, adjust starter row placement to hide irregularities under baseboards.
-
Maintain proper expansion gaps of 1/2 to 3/4 inch around all room perimeters, door jambs, and vertical obstructions. Colorado’s seasonal humidity swings demand adequate space for wood movement. Use spacers consistently to maintain uniform gaps.
-
Follow manufacturer guidelines precisely for your chosen installation method. Nail-down installations require specific nailer settings, fastener angles, and placement patterns. Glue-down methods specify trowel notch sizes and adhesive working times. Floating floors demand exact click-lock engagement.
-
Rack planks by opening multiple carton boxes and selecting from the mix. This blends color variation naturally across the floor rather than creating distinct light and dark sections.
-
Check alignment every three to four rows using a chalk line or straightedge. Minor adjustments early prevent compounding errors that create visible waves or gaps later.
-
Stagger end joints minimum 6 inches between adjacent rows, preferably 8-10 inches for better appearance and structural integrity. Avoid H-joint patterns where end joints align across three rows.
-
Blind nail through tongues at 45-degree angles for nail-down installations, placing fasteners 1-3 inches from plank ends and every 8-10 inches along tongues. Certified installers adjust nailer pressure to avoid crushing tongues or leaving proud fasteners.
-
Allow adhesives to cure completely per manufacturer specifications before allowing foot traffic. Some products require 24-48 hours, others cure faster with proper temperature and humidity conditions.
This comparison shows installation method differences:
| Method | Best For | Pros | Cons |
|---|---|---|---|
| Nail-down | Solid wood over wood subfloors | Traditional, durable, refinishable multiple times | Noisy installation, requires accessible joist access |
| Glue-down | Engineered wood over concrete | Quiet, stable, works below grade | Difficult removal, subfloor must be perfectly flat |
| Floating | Quick installations, engineered products | Easy DIY, reversible, handles minor subfloor imperfections | Cannot refinish as many times, potential for hollow sound |
Finishing steps complete the installation and prepare floors for use. Sand any filler or putty used at transitions flush with surrounding wood. Vacuum thoroughly to remove all dust before applying finishes. Install baseboards and trim, leaving slight gaps above flooring for continued expansion.
For detailed workflow guidance, review the professional hardwood floor installation guide and Colorado hardwood installation workflow for regional best practices.
Comparing installation methods: choosing the best fit for your project
Selecting the optimal installation method depends on your subfloor type, project timeline, budget, and floor usage patterns. Each approach offers distinct advantages for Colorado applications.
Nail-down installation remains the gold standard for solid hardwood over wood subfloors. Pneumatic nailers drive fasteners through plank tongues into joists below, creating rock-solid attachment that withstands heavy traffic for generations. This method allows multiple refinishing cycles since you’re working with thick solid wood. The downside involves noisy installation and requirements for accessible joist structures, limiting use over concrete or radiant heat systems.
Glue-down installation suits engineered flooring over concrete slabs common in Colorado commercial buildings and basement applications. Trowel-applied adhesives bond planks directly to substrates, eliminating hollow sounds and providing excellent stability. This method works below grade where moisture barriers protect against concrete moisture transmission. However, removal becomes difficult and messy, and substrate preparation requires meticulous flatness.
Floating installations click or lock planks together without attachment to subfloors. This approach handles minor subfloor imperfections and installs quickly, making it popular for DIY projects and rental properties. Engineered products designed for floating installations perform well in Colorado’s climate when proper underlayments control moisture and sound. The tradeoff involves fewer refinishing opportunities and potential for hollow sounds under foot traffic.
| Feature | Nail-Down | Glue-Down | Floating |
|---|---|---|---|
| Subfloor | Wood only | Any flat surface | Any reasonably flat surface |
| Installation time | Moderate | Slow | Fast |
| Refinishing potential | Highest | Moderate | Limited |
| Below-grade use | No | Yes | Yes |
| Sound transmission | Low | Lowest | Moderate to high |
| Removal difficulty | Moderate | High | Easy |
Colorado-specific considerations affect method selection:
- High-altitude locations experience lower atmospheric pressure affecting adhesive curing and nail gun operation
- Dry winter conditions can cause greater wood shrinkage, demanding precise gap calculations
- Commercial spaces need methods that minimize downtime and handle heavy rolling loads
- Radiant heating systems require compatible adhesives and engineered products
Pro Tip: Commercial installations in Colorado benefit most from glue-down methods using moisture-cure urethane adhesives. These products cure reliably in dry conditions and create bonds that handle rolling carts, forklift traffic, and temperature cycling in warehouses or retail spaces.
Consult installation methods for Colorado floors for climate-specific guidance matching your project requirements.
Making the right decision and next steps after installation
Successful flooring projects require careful planning beyond installation mechanics. Permit compliance, installer selection, and post-installation care determine whether your floors deliver decades of beauty or years of problems.
Prioritize hiring certified, experienced installers familiar with Colorado’s building codes and climate challenges. Request references from recent projects in your area and verify current licensing and insurance coverage. Quality installers cost more initially but prevent expensive callbacks and corrections that cheap labor creates.
Secure all necessary permits before starting work. Contact your local building department to determine requirements for your project scope. Commercial installations almost always need permits, while residential work varies by jurisdiction and project size. Schedule required inspections at appropriate installation phases to avoid delays.
Post-installation care begins immediately after completion. Avoid walking on newly installed floors during adhesive cure times. When traffic resumes, use felt pads under all furniture legs and place mats at entry doors to trap dirt and moisture. Colorado’s climate demands active humidity management to prevent seasonal wood movement.
Plan regular maintenance to protect your investment:
- Sweep or vacuum daily to remove abrasive dirt particles
- Damp mop weekly using pH-neutral hardwood floor cleaners
- Monitor indoor humidity levels, maintaining 35-55% year-round
- Refinish or recoat surfaces before wear penetrates the wood
- Address spills and water exposure immediately
Document your installation with photos, receipts, warranty information, and maintenance records. Note the specific products used for finishing and the installer’s contact information. This documentation proves invaluable for warranty claims, insurance purposes, or when selling your property.
Follow the hardwood maintenance checklist steps to establish routines that preserve floor beauty and extend service life. For comprehensive installation planning, reference the professional hardwood floor installation guide covering every phase from material selection through final finishing.
Review hardwood floor installation best practices from industry organizations to stay current with evolving techniques and products designed for challenging climates like Colorado’s.
Professional hardwood floor installation and refinishing in Colorado
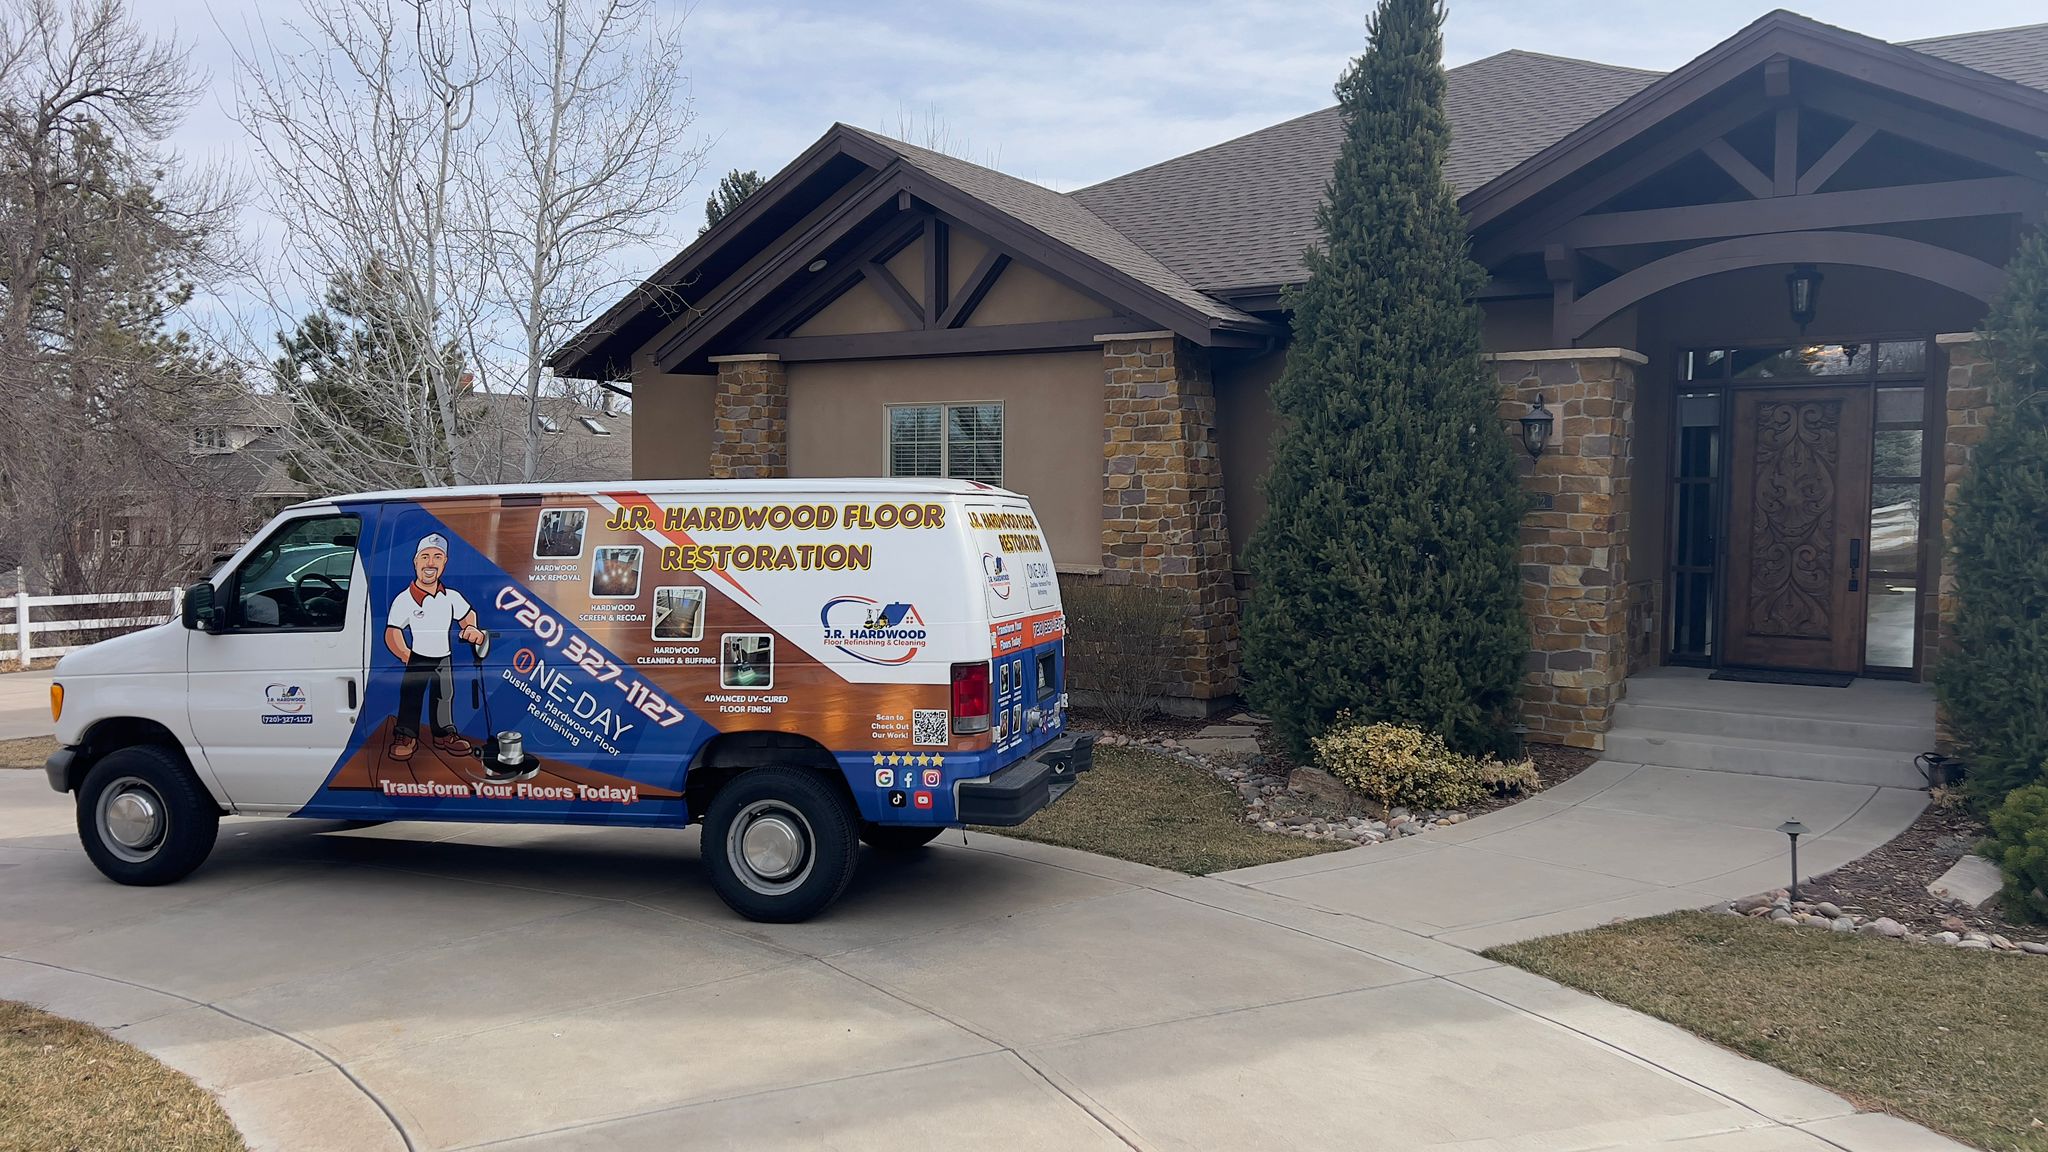
Need expert help ensuring your hardwood floors meet Colorado’s demanding conditions? J.R. Hardwood Floor Refinishing & Cleaning brings decades of experience installing and refinishing floors across the Denver Metro Area, from Parker and Castle Rock to Boulder and Colorado Springs.
Our certified team understands exactly how altitude, humidity swings, and local building codes impact installation success. We handle everything from moisture testing and subfloor preparation through final finishing using eco-friendly products and premium techniques. Whether you’re planning new installation or restoring existing floors, we deliver predictable, high-quality results backed by 5-star reviews and detailed process videos.
Explore our expert hardwood floor installation services customized for Colorado conditions. Review the professional hardwood floor installation guide for detailed process information, or discover how our hardwood floor refinishing services restore aged floors to like-new condition. Contact us for a free over-the-phone quote based on your specific project needs.
Frequently asked questions
What is the best moisture content level for wood flooring installation?
Wood flooring should measure between 6-9% moisture content for installation in Colorado’s dry climate. Your subfloor must fall within 2-4% of the flooring material’s moisture content to prevent expansion or contraction problems. Professional moisture testing before installation prevents costly failures.
How long should hardwood flooring acclimate before installation?
Hardwood should acclimate minimum 48-72 hours indoors before installation in Colorado’s climate. Place unopened cartons in actual installation rooms, not garages or basements where conditions differ. This ensures wood reaches equilibrium with your home’s moisture levels and prevents warping after installation.
Why is it important to hire installers familiar with Colorado’s building codes?
Certified local installers understand specific codes and climate challenges unique to Colorado. They know permit requirements, inspection procedures, and techniques that handle altitude and humidity variations. This expertise reduces risk of installation defects and code violations that create expensive corrections later.
How can I maintain my hardwood floors post-installation in Colorado’s climate?
Control indoor humidity levels between 35-55% year-round to prevent wood warping or cracking. Use humidifiers in winter when Colorado air gets extremely dry and dehumidifiers during wet spring months. Follow the hardwood maintenance checklist steps for cleaning and care routines that protect your investment.