 Skip to content
Yes, you can install engineered hardwood over concrete, but only after the slab passes a documented moisture test that meets your flooring manufacturer’s written limits. The gatekeeper is ASTM F2170 in-situ relative humidity testing, not a guess or a quick surface check. If the slab fails, you have options: wait and let it dry further, add a moisture mitigation system, or switch to a different installation method entirely.
TL;DR:
- Moisture testing must use ASTM F2170 in-situ relative humidity probes, not surface tests like calcium chloride or pinless meters, to ensure long-term bonding.
- The slab must pass specific moisture limits listed in the flooring and adhesive technical data sheets before installation proceeds.
- Proper slab preparation, including leveling and contaminant removal, is critical to prevent bonding failure and moisture-related issues.
- The choice of installation method—glue-down, floating, or plywood—depends on moisture levels, slab flatness, and room features like radiant heat.
- Post-installation assessments should include tapping for hollow sounds and checking for cupping or delamination, with professional help recommended if problems arise.
Table of Contents
- How Do You Test Concrete Moisture Before Installing Engineered Hardwood?
- Preparing the Concrete Slab for a Successful Install
- Glue-Down, Floating, or Plywood: Which Method Fits Your Slab?
- Choosing Adhesives and Vapor Barriers That Actually Match
- Acclimating the Wood and Sequencing the Job Correctly
- What to Check After Installation, and How to Fix Problems
- A Contractor’s Take on DIY Moisture Testing
- Let Jrhardwoodfloorrefinishingandcleaning Handle the Guesswork
- Standards and Guides Worth Bookmarking
- Sources
How Do You Test Concrete Moisture Before Installing Engineered Hardwood?
The only test worth trusting is in-situ relative humidity (RH) testing under ASTM F2170. It measures moisture deep inside the slab rather than skimming the surface, which is exactly why it predicts long-term performance better than older methods.
Here’s the actual procedure, step by step:
- Drill test holes to a depth recommended by ASTM F2170, typically around 40% of slab thickness for slabs drying from one side, or about 20% if drying from both sides.
- Install sensor sleeves, seal them, and let the site sit undisturbed for a full 24 hours so temperature and humidity inside the hole can equalize with the slab.
- Insert calibrated RH probes, then record both relative humidity and slab temperature. Moving probes too soon or skipping equilibration is the single most common reason for a falsely low reading, according to Wagner Meters’ testing guidance.
- Photograph every reading, sleeve location, and gauge display to document moisture testing results for warranty or quality assurance purposes.
Calcium chloride tests and pinless moisture meters have their place, but only as a quick screening tool early in the process. They read surface moisture, not what’s happening three or four inches down, and that gap has sunk plenty of installations that “passed” a surface check.
Pro Tip: Most engineered hardwood manufacturers require RH readings at or below a maximum level, generally in the range manufacturers specify in their technical data sheets before they’ll honor a warranty. Pull the technical data sheet for your specific flooring and adhesive before you drill a single hole.
Sampling matters too. Perform moisture tests at multiple locations based on slab size and include additional probes in areas prone to higher moisture, like edges and below-grade sections, to get a comprehensive assessment. Those “risk zones” tend to hold moisture longer than the rest of the floor, so testing there gives you the safest, most conservative picture.
Preparing the Concrete Slab for a Successful Install
A dry slab that’s uneven, dirty, or coated with old adhesive will still ruin your installation. Prep work happens in a specific order:
- Check flatness first. Lay a straightedge across the slab; gaps beyond manufacturer or industry tolerances indicate flatness issues that need addressing before flooring installation.
- Remove contaminants. Curing compounds, laitance (that chalky film on new concrete), paint, and old adhesive residue all block proper bonding. Diamond grinding or shot-blasting are effective methods for removing stubborn coatings that cannot be removed by scraping.
- Grind or level, depending on severity. Minor dips can be corrected with an appropriate leveling compound rated for the intended use, while significant high spots may require grinding.
- Prime if needed. Porous or previously sealed concrete often needs a primer or densifier to help adhesive bond correctly. Confirm compatibility with your adhesive manufacturer before applying anything, since not every primer plays well with every glue.
Pro Tip: If grinding is on your to-do list, treat silica dust seriously. OSHA’s respirable crystalline silica standard exists because that dust causes real, permanent lung damage. When grinding concrete, use HEPA-filtered dust extraction and appropriate respiratory protection or hire a professional to prevent silica dust hazards.
Glue-Down, Floating, or Plywood: Which Method Fits Your Slab?
Your moisture test results, slab flatness, and the width of your planks decide this for you more than personal preference does.
Glue-down bonds the engineered hardwood directly to the concrete using a full-coverage adhesive. It’s the go-to choice for wide-plank floors because it minimizes movement, and it works well over radiant heat since the adhesive helps transfer warmth evenly. The tradeoff is permanence. Once it’s down, it’s down, and it demands a slab that has passed moisture testing with real margin to spare.
Floating installations use click-lock engineered planks over a separate underlayment, with no glue touching the concrete at all. This makes floating a smart pick for slabs with borderline moisture readings, below-grade rooms, or DIYers who want a forgiving, reversible install. The underlayment does double duty, cushioning sound and adding a layer of moisture protection.
Plywood-on-slab or sleepers means building a wood subfloor over the concrete, often with a vapor retarder sandwiched underneath. This route suits homeowners who want to nail down solid-feeling wide-plank flooring or need extra height adjustment, though it adds labor, materials, and floor height that not every room can spare.
Run through this quick checklist before deciding:
- Did the slab pass RH testing with margin, or just barely clear the threshold?
- Is the slab flat within tolerance, or does it need significant leveling?
- Are you installing over radiant heat?
- How wide are your planks, and how confident are you in your own tool skills?
Choosing Adhesives and Vapor Barriers That Actually Match
Adhesive and vapor control aren’t places to improvise. Manufacturers write technical data sheets for a reason, and mixing incompatible products is one of the fastest ways to void a warranty.
- Adhesives: Urethane and acrylic adhesives are the standard choices for gluing engineered hardwood to concrete. Trowel size and open time vary by product, so follow the adhesive’s TDS exactly rather than eyeballing it.
- Vapor retarders: Use a vapor retarder under plywood or sleeper subfloors, or follow adhesive manufacturer instructions for moisture mitigation membranes as appropriate. Skipping this step on a borderline slab is asking for trouble later.
- Underlayment: For floating floors, underlayment adds sound dampening and a layer of moisture protection, but the wrong type can trap vapor against the wood instead of letting it dissipate.
Pro Tip: Before you buy a single product, lay your flooring TDS, adhesive TDS, primer spec, and underlayment spec side by side. If any one of them doesn’t explicitly list the others as compatible, call the manufacturer and ask. Guessing here is how delamination and adhesive failures happen months after the crew has packed up.
Acclimating the Wood and Sequencing the Job Correctly
Engineered hardwood needs time to adjust to your home’s temperature and humidity before installation, typically several days with cartons opened in the actual room where it’ll live. Verify the moisture differential against your manufacturer’s specific guidance rather than assuming a flat number.
The work should happen in this order:
- Test the slab (ASTM F2170) and confirm results against manufacturer limits.
- Prep the concrete: clean, level, and grind as needed.
- Apply vapor control or primer per the adhesive’s TDS.
- Acclimate the flooring on-site while prep work finishes.
- Install adhesive or underlayment, then lay the flooring.
- Roll glued floors with a proper flooring roller to seat the adhesive, and leave the recommended expansion gap at every wall.
Keep the house at normal living conditions, generally 60 to 80 degrees Fahrenheit, both during and after installation. Skipping that step can undo everything the moisture test confirmed.
What to Check After Installation, and How to Fix Problems
Walk the floor within the first 30 days and tap random boards. A hollow sound usually means a glue-down section didn’t bond, often from inadequate adhesive coverage or a slab that was damper than the test showed.
- Cupping (edges higher than centers) almost always points back to moisture, either from the slab or from humidity swings after install.
- Delamination shows up as lifting seams or a hollow tap, and it traces to adhesive failure or moisture intrusion.
- Finish failures, like bubbling or discoloration, often mean moisture got trapped under the wood before it could escape.
If RH readings stayed high despite drying time, or if delamination shows up in multiple rooms, stop and call in a professional rather than patching symptoms one board at a time. For more on catching these issues early, see our guide on protecting hardwood floors from moisture damage.
A Contractor’s Take on DIY Moisture Testing
We tell homeowners to hire out any slab with an unknown history, a radiant heat system, or a wide-plank glue-down install. Those jobs punish small mistakes. Otherwise, photograph every moisture reading, use HEPA extraction when grinding, and get adhesive compatibility confirmed in writing before you open a single can. A free over-the-phone quote can tell you fast whether your situation calls for a professional site visit.
— J.R.
Let Jrhardwoodfloorrefinishingandcleaning Handle the Guesswork
If everything above sounds like more testing equipment and troubleshooting than you bargained for, that’s a fair reaction. Jrhardwoodfloorrefinishingandcleaning coordinates the entire process for you, from ASTM F2170 moisture testing through slab prep, leveling, and final installation, using eco-friendly products and documentation you actually keep for your records.

A site visit from our team means real moisture-test numbers, a written compatibility check between your adhesive, primer, and flooring, and a clear plan before any demolition starts. We serve homeowners across the Denver Metro Area and surrounding Colorado communities. We’re glad to weigh in on trickier situations like radiant heat slabs or wide-plank glue-down jobs where a mistake gets expensive fast. If you’re comparing the DIY route against hiring it out, our breakdown of refinishing DIY versus professional service walks through the tradeoffs honestly. Ready to find out where your project stands? Many floor care specialists offer free over-the-phone quotes based on photos and details about your slab so you can know your next step.
Standards and Guides Worth Bookmarking
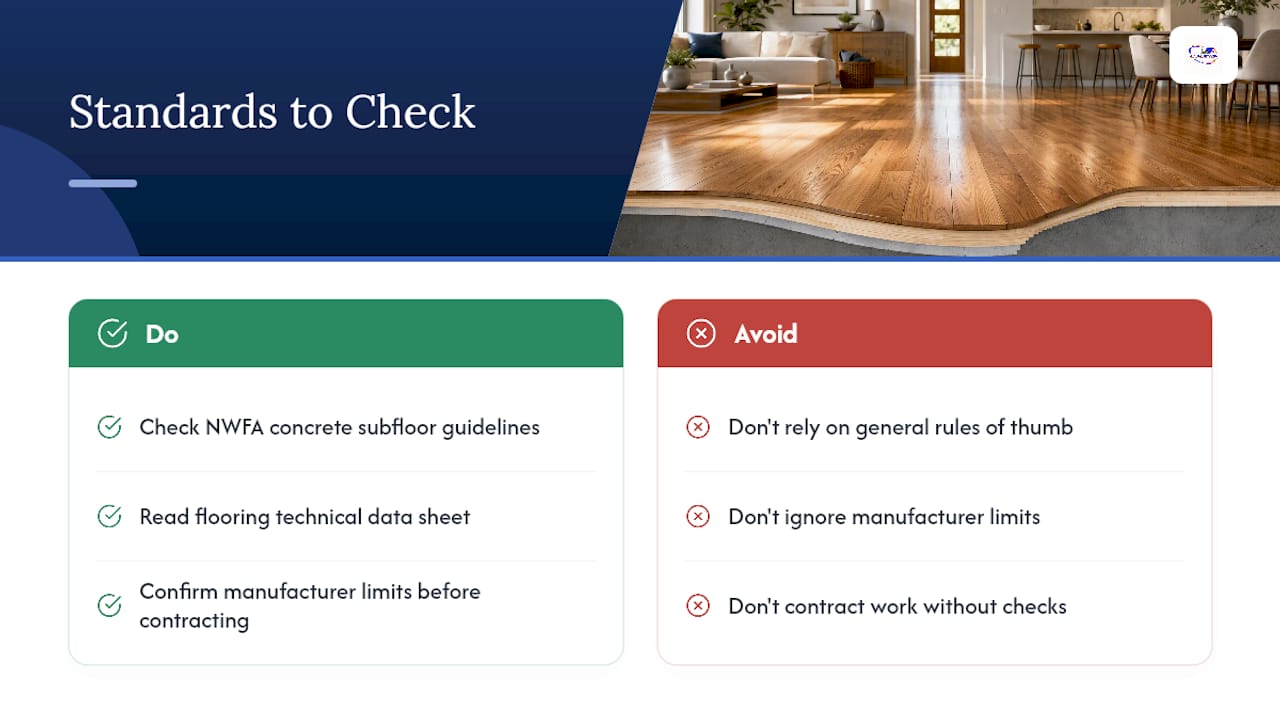
Before you contract any part of this job, check the NWFA concrete subfloor guidelines and your flooring’s technical data sheet. Manufacturer limits override any general rule of thumb.